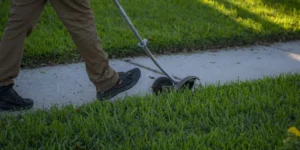
Flower bed edging comes in several forms, metal, plastic, concrete, stone, and even living borders like mondo grass, and each one holds a garden bed’s line a little differently. Installing it is a straightforward six-step process: pick a material, mark the layout with a garden hose, dig a trench two to three inches deep, lay down a sand base, set the edging with stakes, then backfill and compact the soil for a clean, weed-resistant border.
Key Takeaways
- Landscape edging creates clean lines and definition between lawn and garden beds for polished yards.
- Living edging options include mondo grass, Dusty Miller, and seasonal annuals for natural borders.
- Measure your desired edging layout with rope or twine before installation to determine material needs.
- V-shaped sod cuts provide a natural edging alternative without requiring additional materials or installation.
What Does Flower Bed Edging Really Accomplish?
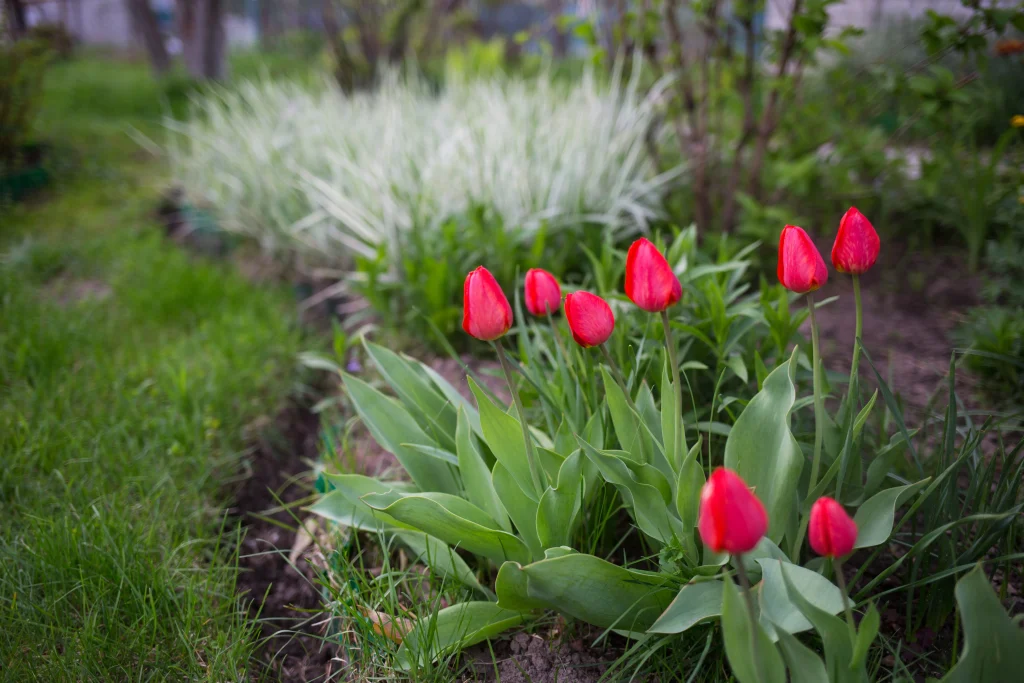
Flower bed edging draws a clear, confident line between lawn and garden, keeping turf and planting areas visually distinct. That separation does more than look tidy. According to Bower & Branch, garden bed edging adds structure and clean lines to outdoor spaces, drawing the eye toward a more polished, organized look.
Edging does more than dress up a yard, though. The same source notes it keeps soil and mulch contained during heavy rain and wind, while slowing how weeds spread between beds and turf. For Lutz-area yards that see frequent summer storms, holding that line matters just as much as how it looks.
Why Does Edging Matter More in Florida Yards?
Florida’s climate is tougher on landscaping materials than most parts of the country. Heavy rainfall and fast-growing grass can make an unedged bed lose its shape faster than homeowners expect, sometimes within a single growing season. Without a firm boundary, mulch washes into the lawn and grass roots creep into the beds, undoing weeks of careful upkeep in just a few days.
Well-installed edging addresses several problems at once:
- Boundary definition: separates lawn from garden with a clean, consistent line
- Erosion control: keeps soil and mulch in place during storms
- Weed suppression: limits the pathways weeds use to spread between zones
- Maintenance reduction: cuts down on edging and mulch replacement over time
Copperhead Property Maintenance, based in Lutz, FL, serves properties throughout the greater Tampa Bay community, where these climate pressures show up year after year. Durable edging works as a structural safeguard for the whole landscape, not just a finishing touch.
Which Edging Materials Suit Florida Flower Beds Best?
Four materials dominate Florida garden borders: metal, plastic, concrete, and stone. Property owners in Lutz and the surrounding Tampa Bay area deal with intense sun, heavy seasonal rain, and fast-growing grass, so the material chosen determines how long a border holds its shape. Flower bed edging done right keeps mulch contained and grass out; the wrong material breaks down faster than most homeowners expect.
Plastic edging remains a popular starting point for good reason: it’s economical, durable, and easy to install, which makes it a solid option for homeowners tackling a border themselves. Rubber edging works well for curved designs and sits at a moderate investment, though it doesn’t hold up as well under harsh, direct sun, a real concern given Florida’s year-round intensity.
Steel edging sits at the premium end of durability. Commercial properties often rely on it to separate lawn areas from shrub beds because it resists bending and lasts for years without replacement, and homeowners looking for a long-term, low-maintenance border often find it worth the investment.
Is decorative rock a good edging alternative?
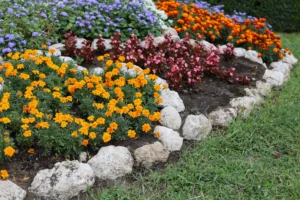
Decorative rock works well as a border material in Florida landscapes. It defines bed edges clearly, cuts down on the mess heavy rain creates, and adds crisp visual contrast around palms, shrubs, and entryways.
| Material | Strength | Watch-Out |
| Plastic | Economical, easy install | Less rigid over time |
| Rubber | Flexible, moderate investment | Weakens under harsh sun |
| Steel | Exceptional durability | Higher upfront investment |
| Stone/Concrete | Long-lasting structure | Heavier installation |
| Decorative rock | Reduces rain mess, defines borders | Needs a contained edge |
Which material lasts longest in Tampa Bay’s climate?
Steel generally holds up longer than plastic and rubber under sustained Florida sun and rainfall. Concrete and stone also keep their shape well, since both resist the heat-driven breakdown that softer materials go through after repeated summers.
What Tools and Materials Should You Gather First?
A successful flower bed edging project starts before anyone picks up a shovel, with rope or twine, landscaping paint, a tape measure, and a sand base ready to go. Skip the preparation and the result is usually uneven lines, wasted material, and a border that shifts within a season.
Start by laying rope or twine along the planned border. This lets homeowners see the shape of the bed before a single tool touches the soil. Walk the outline, adjust the curves, and check that the design works with the plantings already in place.
Once the layout looks right, measure the twine with a tape measure and add roughly 10 percent extra material to the total. That buffer covers the waste from cutting and fitting pieces around corners, so the project doesn’t stall halfway through for a supply run.
Why does a sand base matter for edging installation?
Sand under the edging material creates a stable, level foundation. Without it, edging tends to settle unevenly after Florida’s heavy rains, undoing weeks of careful work.
What if the project feels too big to handle alone?
Larger properties often need more hands and sharper planning than a single weekend allows. Copperhead Property Maintenance brings a 15-person team that can handle material selection and installation from start to finish.
Checklist before digging:
- Rope or twine for layout
- Landscaping paint for marking
- Tape measure
- Edging material plus 10 percent extra
- Sand for the base layer
How Do You Plan and Mark the Layout?
A clear layout determines whether flower bed edging looks crisp or crooked once it’s installed. Picturing the finished line before digging saves material and avoids awkward curves that stand out for years to come.
Property owners in the Tampa Bay area typically follow a simple sequence before the first cut goes into the soil.
- Walk the planned border and picture how the bed will meet the lawn.
- Lay a garden hose or flexible rope along the intended path. The hose bends naturally into curves, making it easy to adjust before committing to anything permanent.
- Step back and view the shape from a distance, including from the street or driveway.
- Adjust the hose until the curves feel balanced and proportional to the home’s facade.
- Once the shape looks right, trace over it with marking paint to lock in a permanent reference line. This step matters because loose hoses shift in wind or get disturbed by foot traffic.
What If a Softer, Less Structured Border Is Preferred?
Not every property benefits from a hard material edge. Low-growing plants, such as mondo grass or seasonal annuals like Dusty Miller, create a living border that feels natural rather than manufactured. This approach suits cottage-style gardens or beds surrounding mature landscaping, where a rigid line would look out of place.
Should the Layout Be Marked More Than Once?
Yes. Many homeowners mark the design twice: once loosely with hose or rope, then again with paint after confirming the shape. That second pass removes guesswork during installation and keeps the crew working from one consistent line, rather than reinterpreting a shifting outline mid-project.
How Deep Should the Edging Trench Be?
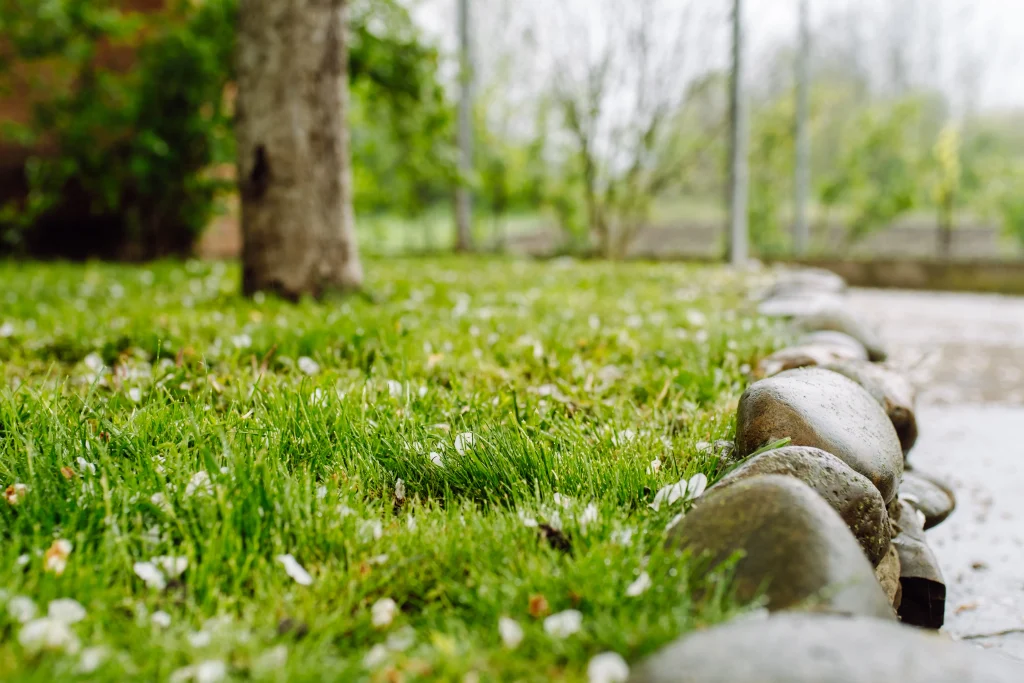
Two to three inches works for most residential installations. That shallow depth anchors plastic, metal, or concrete edging firmly without calling for heavy excavation equipment or extra labor, and going deeper rarely adds any benefit for a standard flower bed edging project around Lutz-area homes.
A trench this size works because it matches how most edging products are built. Manufacturers design these materials to sit mostly below grade, leaving just enough exposed above the soil to hold mulch, gravel, or soil on each side. Go shallower and the edging can shift; go much deeper and it just wastes time without adding any real stability.
Tampa Bay conditions add a wrinkle most national guides skip over. Sandy soil drains fast and doesn’t hold a trench shape well during installation, and heat and humidity speed up both plant growth and soil erosion around the trench edges. A consistent depth matters more here than it does in cooler, denser-soil climates.
How deep should edging be for curved garden beds?
Curved beds still follow the 2 to 3 inch standard. The real challenge is keeping a consistent trench line through tight curves without the material buckling or gapping.
Does trench depth change for sloped yards?
Slight slopes don’t require deeper trenching, but they do call for extra attention to leveling as the trench is dug. Properties with noticeable grade changes benefit from stepped sections to keep the edging line visually straight.
A properly dug trench does more than hold materials in place. It creates the clean, finished line that keeps turf and garden beds from encroaching on each other. Mulch stays contained, grass stops creeping into the flower beds, and the yard reads as intentional rather than overgrown. That polished boundary line is often what separates a yard that looks maintained from one that looks neglected, even when the lawn itself is healthy.
How Do You Set and Secure the Edging?
Setting and securing flower bed edging correctly determines whether a garden border holds its line for years or shifts within a single rainy season. A trench alone won’t keep materials upright. Stakes or spikes anchor each piece in place for a stable, lasting hold, and skipping this step invites the most common edging failure Tampa Bay homeowners run into: panels that lean, separate, or heave out of the soil after a few heavy downpours.
What tools does flower bed edging installation require?
Installation typically calls for a trenching spade, a rubber mallet, and the stakes or spikes designed for the chosen material. Gloves matter more than most homeowners expect, especially with metal.
Which edging material is easiest to install?
Plastic edging remains one of the most practical and economical choices for a do-it-yourself project. It flexes easily around curves and installs quickly without any specialized tools, a sensible starting point for a first attempt at bed definition.
Metal edging, by contrast, delivers a sharper, more sophisticated border line but demands more effort and care during placement. Sharp edges and rigid panels can be hard on the hands, so gloves are strongly recommended throughout the process.
- Dig the trench to the depth recommended for the chosen material.
- Position the edging upright along the marked line.
- Drive stakes or spikes through the pre-set holes or base flange.
- Tap each anchor firmly with a mallet until flush.
- Backfill soil against both sides and compact by hand.
| Material | Installation Effort | Hand Protection Needed |
| Plastic | Low | Minimal |
| Metal | Moderate to high | Recommended |
A quick check of the anchor points after the season’s first heavy rain catches any shifting early, before it turns into a bigger repair.
How Do You Backfill and Finish the Border?
Packing soil firmly against the edging material finishes the installation and keeps every piece locked in position. Skip this step and borders end up loose, prone to shifting, and vulnerable to the next heavy Tampa Bay downpour. A properly backfilled edge, by contrast, holds its line through storms, mowing, and foot traffic alike.
Follow these steps once the edging sits in its trench:
- Shovel soil along both sides of the edging material, working in short sections rather than all at once.
- Press soil firmly against the edging with a hand tamper or the back of a shovel.
- Check for gaps or air pockets, then add more soil where needed.
- Water the area lightly to help the soil settle and bond around the base.
- Inspect the entire border for level alignment before moving to mulch or plantings.
Pressing soil against the edge this way locks the material in place and keeps it from drifting the way loose, uncompacted borders tend to during Florida’s wet season.
Why does regular maintenance matter after installation?
A border only stays sharp if the lawn around it stays maintained. Routine mowing and edging keep the grass neat and preserve the curb appeal homeowners expect throughout the year. Skip that upkeep and grass creeps back over the border, undoing the clean line the project was meant to create.
Does finished edging affect overall yard appeal?
Finished flower bed edging does more than separate grass from soil; it signals a cared-for property. Across the Tampa Bay area, more homeowners are pairing fresh mulch, decorative stone, and quality plants with curb appeal upgrades, and a well-backfilled border gives those elements a clean, defined frame to show off.
What Edging Mistakes Should You Avoid?
Skipped borders cause most backyard headaches. Without a defined edge, gravel and soil drift onto the lawn, grass pushes into the beds, and the whole yard looks unkempt within a season. Lutz homeowners can avoid this by watching for four common mistakes.
Flower bed edging fails most often when the groundwork gets rushed. The right materials matter just as much as the labor; low-grade edging or mismatched products affect the finished look for years, not just the first season.
Is it okay to install edging over existing grass?
No. Laying new edging or sod directly over existing turf without proper preparation causes real problems, including poor root contact and uneven settling. Clearing the area first protects the work and keeps the border stable.
Common mistakes to watch for:
- Skipping the border entirely – leads to gravel migration and grass creep within weeks.
- Choosing cheap materials – shortens the lifespan of the edging and weakens curb appeal.
- Installing over old grass – creates hidden root and drainage issues underneath.
- Ignoring long-term care – beds without upkeep lose their clean lines fast.
Should homeowners maintain edging themselves or hire a professional?
Florida’s climate rewards consistency, and many homeowners simply don’t have the hours to spare. Busy property owners across the Tampa Bay area often hand this work to professionals rather than fight heat, humidity, and fast grass growth alone.
Avoiding these mistakes protects the structure, the plants, and the overall value of the property.
FAQ
What are the six steps for installing flower bed edging?
Select your material, mark the layout with a garden hose, dig a 2- to 3-inch trench, add a sand base, install the edging with stakes, then backfill and compact the soil for a clean, weed-resistant border.
Why is edging especially important for Florida flower beds?
Florida’s heavy rainfall and fast-growing grass cause unedged beds to lose their shape quickly. Mulch washes into the lawn and grass roots creep into planting areas, sometimes within a single growing season.
Which materials work best for Florida garden bed edging?
Metal, plastic, concrete, and stone dominate Florida borders. Plastic is economical and easy to install. Rubber edging suits curves but holds up less well under Florida’s intense, direct sun exposure.
Conclusion
The right flower bed edging does more than frame a garden, it gives a property clean lines and a more polished, finished look. Whether a homeowner chooses natural stone, metal, or composite materials, proper installation is what makes the results last through Florida’s heat, rain, and seasonal changes. Edging that fits the landscape’s design and gets maintained consistently keeps a yard looking cared for, season after season.